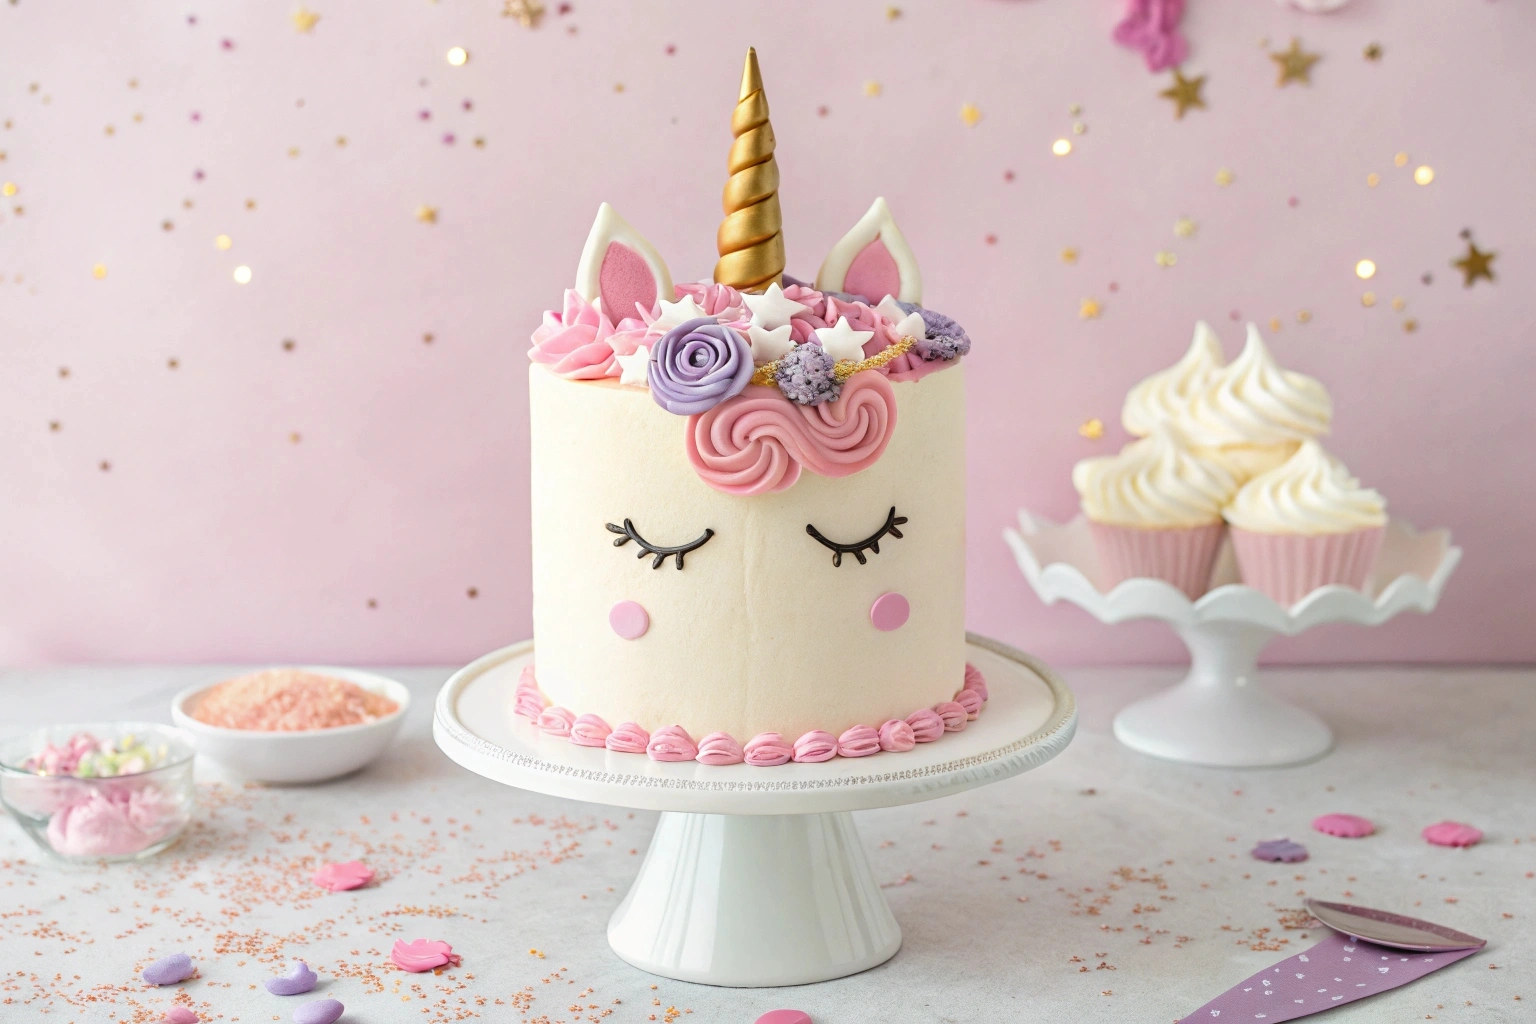
If you’ve ever dreamed of baking a unicorn cake that looks like it stepped right out of a fairytale, you’re in the right place. This mythical dessert has become one of the most popular treats for birthdays, baby showers, and celebrations of all kinds. In addition, it’s surprisingly manageable to create, provided you have the right tools, ingredients, and a bit of patience. Throughout this guide, you’ll learn not only how to build and decorate a stunning unicorn cake but also why it’s worth the effort, how to make it taste as good as it looks, and what you can do to personalize it for any special occasion. Therefore, get ready to discover everything you need to know from the origins of whimsical cakes to the final finishing touches so you can create your own magical cake at home.
1. Why a Magical Unicorn Cake Reigns Supreme
Origins and Popularity of Whimsical Cakes
Unicorn cake might feel like a modern social media creation, yet whimsical cakes have been around for decades in various forms. However, it wasn’t until the surge of visually driven platforms like Instagram and Pinterest that these rainbow-hued, fairy-tale desserts truly exploded in popularity. You’ve probably seen photos of tall, pastel-colored cakes crowned with gilded horns and playful ears while scrolling through your feed. On the other hand, you might have wondered whether making such a masterpiece at home is feasible. Rest assured, this cake trend endures because it’s not only eye-catching but also incredibly fun to customize.
Moreover, you’ll find whimsical cakes featured in bakeries around the globe, each adding its own unique twist be it sparkly sprinkles, edible flowers, or even multi-flavored layers. Thus, if you want to add a touch of enchantment to your next celebration, a unicorn cake is the perfect showstopper.
Perfect Occasions for This Fairy-Tale Dessert
You might assume a fairy-tale dessert is only suitable for children’s birthday parties. In reality, grown-ups also adore these vibrant creations for baby showers, bridal parties, and even just-because moments. Therefore, if you’re hosting a celebration where you’d like a cake that wows your guests at first glance, you can’t go wrong with this whimsical creation. In addition, you can match your color scheme by adjusting the frosting shades or customizing the fillings.
For instance, if your theme is pastel pink and mint, you can incorporate those specific colors into your cake layers or mane decorations. On the other hand, you can go big and bold with neon hues if you’re aiming for an eye-popping party centerpiece.
Healthier vs. Indulgent Approaches
Although rainbow-colored desserts are usually associated with sweetness and sugar, you do have options if you’re looking for a less indulgent version. In fact, some bakers reduce the sugar in the sponge or opt for a lightly sweetened whipped cream in place of a standard buttercream. However, because the visual impact remains the cake’s highlight, a certain amount of color and frosting is typically expected. That said, you can still experiment with fruit-based fillings, lower-sugar sprinkles, or even vegan and gluten-free versions to suit various dietary preferences.
Many professional cake decorators also use fruit extracts—like strawberry or lemon—to infuse a delicate twist into each layer. Hence, you get bursts of flavor without necessarily relying on pure sugar. Ultimately, it’s all about striking a balance that fits your event’s style and your guests’ palates.
Setting the Stage for Fun
One of the biggest joys of creating a unicorn cake is the sense of excitement it brings to your kitchen. Children and adults alike often find themselves smiling as they watch bright colors swirl into batter or as they pick out sparkly decorations. Furthermore, setting up a decorating station, especially when little helpers are around, can transform the process into a mini party before the actual celebration even begins.
If you’re new to cake decorating, don’t worry. You’ll find that each step is simpler than you might imagine particularly once you break it down into prepping, baking, frosting, and final touches. Therefore, as you embark on this journey, remember to enjoy each stage, and don’t be afraid to get creative with colors and decorations.
2. Essential Tools and Ingredients for Your Whimsical Creation
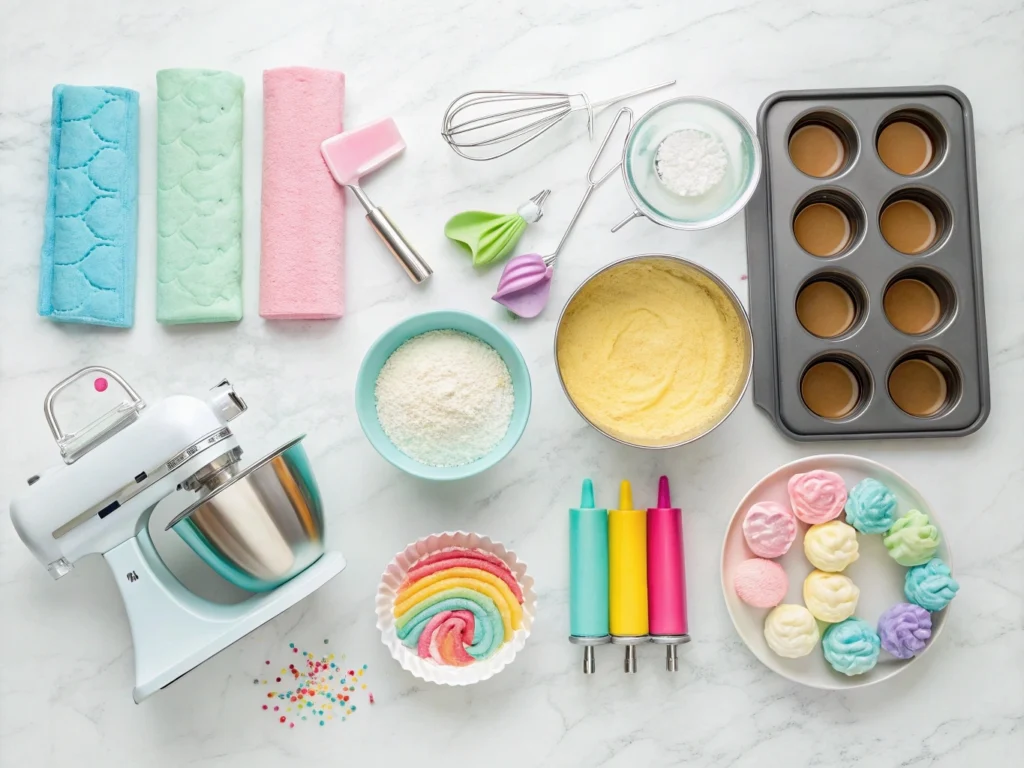
Before you can make the perfect unicorn cake, it’s vital to gather the proper equipment and ingredients. In addition, you’ll want to consider a few extras like edible glitters or special piping tips that will give your cake that extra pop of magic. For more whimsical dessert ideas, check out Fairy Bread recipe.
Must-Have Baking Equipment
While the term “must-have” can feel strict, a few specific tools truly make your life easier:
- Cake Pans: Choose three 6-inch pans or two 8-inch pans, depending on how tall you want your cake. Using multiple pans ensures even baking and consistent layer sizes.
- Mixer (Stand or Handheld): Creaming butter, mixing batter, and whipping frosting is far simpler when you have a reliable mixer.
- Spatulas and Bench Scraper: An offset spatula helps you spread frosting evenly, while a bench scraper can smooth the cake’s sides.
- Piping Bags and Tips: Star tips (like a 1M) and round tips (like #4) are key for creating the unicorn’s mane and small decorative details.
- Optional Tools: If you plan on making edible images for the eyes, an edible ink printer is handy. A fondant mold or shaped cutters for ears can also save time.
With these items on hand, you’ll be better prepared to craft a cake that looks professional and because you have the right tools, you’ll reduce the risk of stress or last-minute improvisations.
Key Ingredients for Vibrant Layers
An enchanting unicorn cake typically features multiple colors inside, so consider using a white velvet or basic white cake recipe. This style of batter takes food coloring beautifully. To achieve bright and consistent hues, invest in high-quality gel colorings (rather than liquid).
- Cake Flour (or All-Purpose): Delivers a soft crumb.
- Butter or Oil: Brings moisture and flavor.
- Eggs: Bind the batter. For an eggless version, you can experiment with applesauce or a commercial egg replacer.
- Sugar: Standard granulated sugar or a sugar substitute if you’re going for a lighter approach.
- High-Quality Gel Food Colors: We recommend Wilton’s Gel Icing Colors or Americolor’s line for vibrant, fade-resistant shades.
In addition, keep basic staples like baking powder, salt, and vanilla extract around. Once you gather these items, you’ll notice how each ingredient contributes to a fluffy, colorful, and delicious final product.
Choosing the Right Sprinkles and Decorations
If you want a fairy-tale dessert with a confetti-like appearance, you might include sprinkles directly in the cake batter—commonly known as a “funfetti” cake. Therefore, opt for sprinkles designed to hold their shape during baking so you end up with those adorable specks of color in each bite.
Beyond the batter, decorations such as edible glitter, sugar pearls, and metallic dragees can further enhance your cake’s whimsical look. However, be mindful that not all glitter labeled “non-toxic” is truly edible. In fact, some are for display only and should be removed before serving. Consequently, check labels or buy from well-reviewed baking suppliers to ensure everything on your cake is safe to eat.
Crafting Edible Horns and Ears
The horn and ears are perhaps the most iconic aspects of a unicorn cake. You can craft these using:
- Fondant: Roll it into a cone shape for the horn, twist two pieces together for that spiral effect, then let it dry. Make leaf-like ear shapes, fold, and add pink accents.
- Isomalt or Chocolate: Use a premade mold to form horns and ears. This method often results in a glossier finish.
- Painting Gold: For a metallic effect, coat your horn with edible gold dust or spray.
Because these elements must stand upright, you can insert a thin dowel or cake pop stick into the horn to anchor it. In addition, you might attach the ears to toothpicks or dried spaghetti for added stability.
Flavor Profile and Variations
Vanilla is the classic go-to for a unicorn cake because it pairs beautifully with sweet frostings and doesn’t clash with bold colors. However, you can also layer in fruit jams, chocolate ganache, or even a tangy lemon curd for extra complexity. On the other hand, if you’re a chocoholic, you could make your interior layers chocolate and simply color white frosting in bright hues.
Moreover, alternate layers can offer a taste surprise without compromising the rainbow effect. For instance, a lemon layer can be pastel yellow, a strawberry layer can be soft pink, and a vanilla layer can be tinted sky blue. Thus, each bite delivers a different burst of flavor while still looking cohesive once sliced.
Looking for more ways to use up overripe ingredients? Try our 2-banana bread recipe for another quick and delightful homemade dessert.
3. Step-by-Step Unicorn Cake Construction
Once you have your tools and ingredients ready, it’s time for the main event: building your unicorn cake from the ground up. Thus, prepare your kitchen and get ready for a rewarding baking adventure.
Preparing and Coloring the Batter
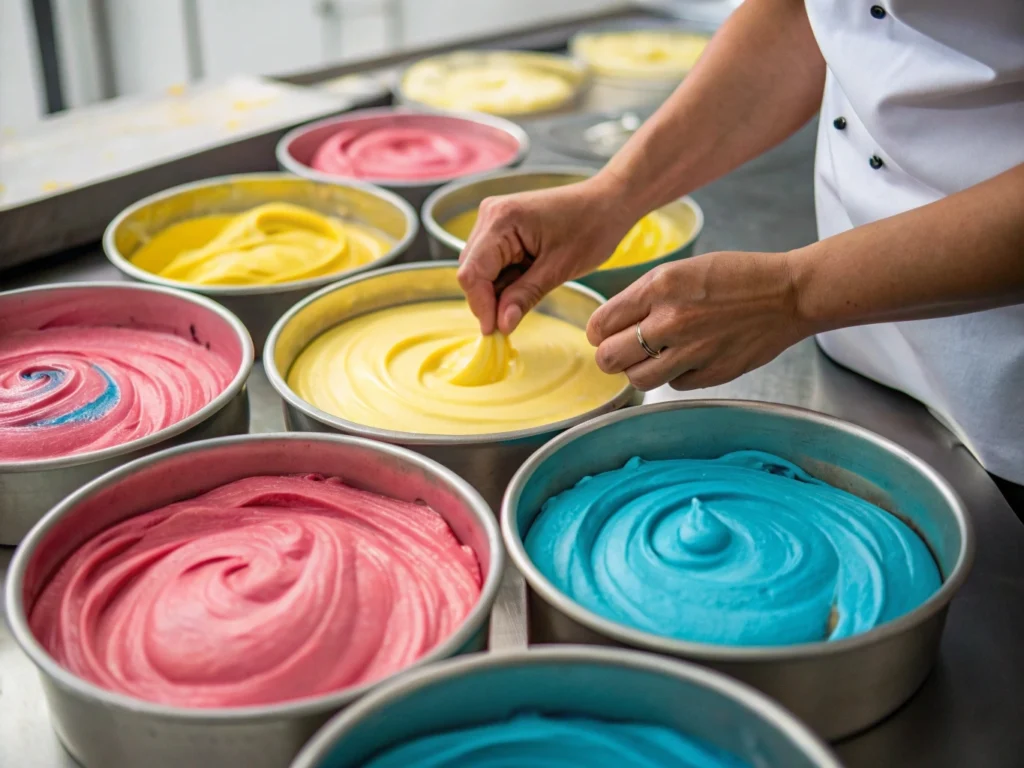
- Mix Your Base: Begin with your preferred white or vanilla cake batter. Cream butter and sugar until fluffy, then add eggs (or egg substitute), followed by your dry ingredients.
- Divide the Batter: Separate it into multiple bowls—one for each color you plan to use. Add a few drops of gel food coloring into each bowl, stirring gently but thoroughly.
- Achieving Vivid Tones: Add color gradually. You can always add more, but it’s hard to tone down an overly saturated color. In addition, test a small spoonful of batter on a white plate to gauge the final shade.
- Layering the Colors: If you’re going for distinct layers, pour each color into its own cake pan. Alternatively, if you want a tie-dye effect, swirl different colors together in one pan.
However, make sure not to over-mix once your colors are added, as this can toughen the cake. In addition, be cautious about color overlaps if you want crisp divisions.
Baking and Cooling Techniques
- Oven Temperature: Most unicorn cake recipes bake at around 335ºF. This slightly lower temperature (compared to 350ºF) ensures the cake rises evenly and the color remains vibrant.
- Baking Time: Typically 30–35 minutes, but use the toothpick test: insert it into the center, and if it comes out clean or with a few moist crumbs, your cake is done.
- Preventing Domes: Tap the pans gently on your counter before baking. On the other hand, some bakers place damp strips around the cake pans to keep the tops level.
- Cooling: Let the cakes rest in the pans for about 10 minutes, then invert them onto a rack to cool completely. In addition, you can wrap them in plastic and freeze for an hour or refrigerate overnight for easier frosting later.
Filling and Stacking Your Cake Layers
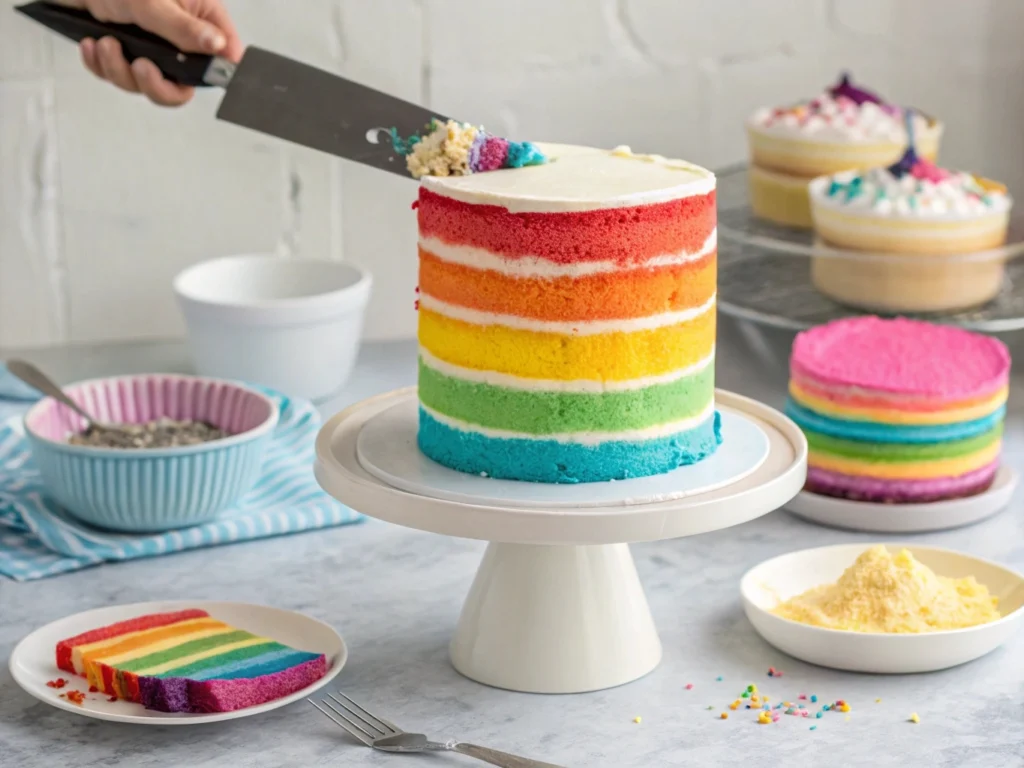
After cooling, level the tops using a serrated knife or cake leveler if needed. This step is crucial for stability.
- First Layer and Filling: Place the bottom layer on a cake board or stand. Spread a thin layer of frosting or your chosen filling (e.g., jam, ganache).
- Adding the Second Layer: Carefully center it over the bottom layer. Press gently to ensure adhesion. Therefore, you avoid leaning or sliding.
- Repeat for Additional Layers: Depending on how tall you want your unicorn cake, continue stacking.
- Crumb Coat: Apply a thin layer of frosting around the sides and top. This catches stray crumbs. Chill the cake for 10–30 minutes to allow the crumb coat to set.
Smoothing the Outside Frosting
- Final Frosting Layer: Use a larger offset spatula or bench scraper to smooth buttercream around the cake. You don’t have to get it perfect—whimsical designs often look great with a bit of texture.
- Achieving Clean Edges: Hold the scraper at a slight angle, turning the cake stand as you go.
- Optional Drip: For a stylish effect, drip a thin chocolate ganache or colored glaze around the top edge. However, do this only after the final frosting has chilled, so the drip sets properly.
Because neatness can elevate the final look, take your time here. On the other hand, if you prefer a rustic vibe, slight imperfections can add charm.
Securing the Horn and Ears
- Horn Placement: Insert the dowel or cake pop stick–supported horn into the top center. Gently push until stable.
- Ear Placement: Tuck the ears on either side of the horn, ensuring they’re evenly spaced. In addition, you might secure them with extra frosting or toothpicks if needed.
- Double-Check Angles: Step back and view the cake from different angles to confirm everything looks balanced.
This moment often brings your cake to life, therefore enjoy seeing your hard work come together.
4. Decorating Your Magical Unicorn Cake with a Rainbow Mane
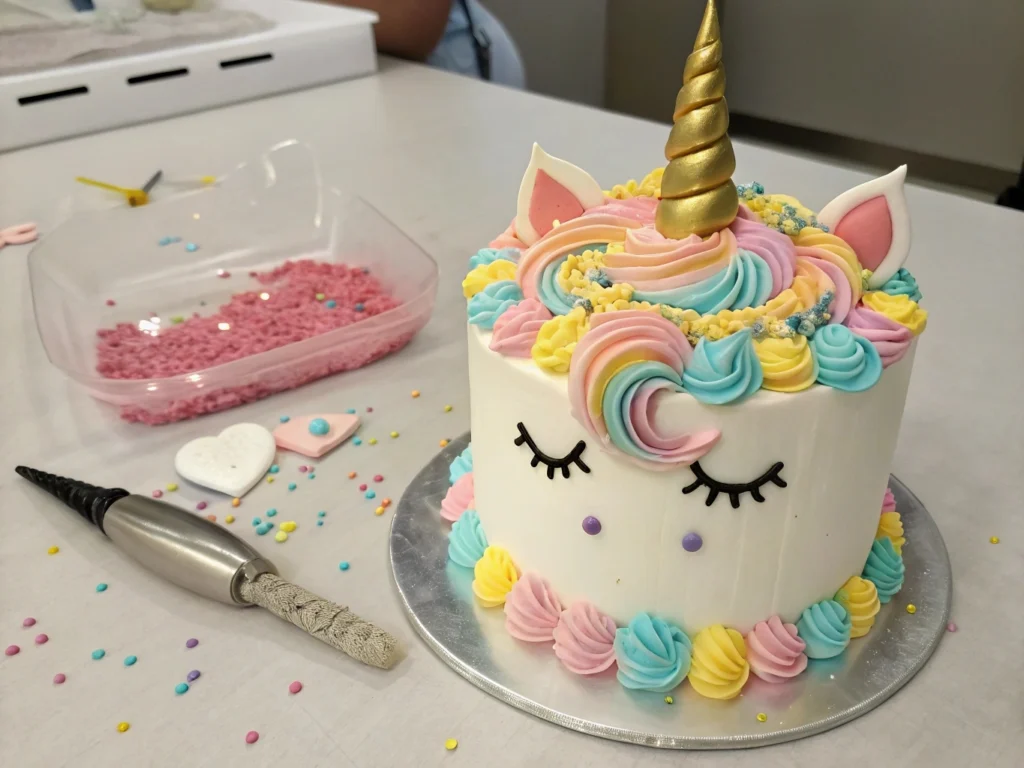
Now comes the truly creative part. You’ll transform a simple frosted cake into a whimsical creation by piping colorful swirls, adding sparkle, and giving your unicorn its signature face.
Colorful Buttercream Swirls and Rosettes
- Multiple Frosting Shades: Divide your buttercream into small bowls, tinting each bowl with a different color. Pastel pink, soft lavender, bright turquoise—whatever suits your theme.
- Piping Bag Setup: You can either place each color in its own piping bag or try the wrap method (placing stripes of color on plastic wrap, rolling it into a log, then inserting into a single bag).
- Rosette Techniques: A 1M star tip works wonderfully for rosettes. In addition, varying the size of the rosettes can add dimension.
Be liberal with your transition words—first, swirl pink rosettes along the unicorn’s “forelock,” then fill in with purple and yellow. Finally, step back to ensure your color distribution looks balanced before continuing.
Piping Techniques for Mane and Forelock
If you’re new to piping:
- Grip and Angle: Hold the bag at a 90-degree angle for rosettes. Squeeze from the top, guiding with your other hand near the tip for control.
- Star or Drop Flowers: Switch tips if you want smaller star shapes or drop flowers.
- Layering: Build up sections so the mane has a luxurious, voluminous appearance. For instance, you might add an extra swirl of pink in a gap or a pop of teal for contrast.
However, be careful not to overdo it you still want to see each color distinctly.
Adding the Eyes and Facial Expressions
- Edible Printed Eyes: If you have an edible ink printer, print large eyes with eyelashes. Cut them out carefully and place them toward the lower half of the cake.
- Buttercream or Fondant Eyes: Alternatively, use black buttercream or fondant. For eyelashes, a small round piping tip (#2 or #3) is ideal.
- Extra Details: If you want added personality, pipe tiny hearts or stars near the corners of the eyes. In addition, consider rosy cheeks with a dab of pink icing.
Remember, the eyes bring character to your cake, so step back and adjust their placement until you’re pleased with the expression.
Finishing Touches and Sparkles
To elevate the fairy-tale dessert aspect:
- Edible Glitter: Dust the mane, horn, and even the edges of the ears for subtle sparkle.
- Sugar Pearls and Dragees: Press them into the frosting for extra texture.
- Luster Spray: A quick spritz of pearl or gold can unify the entire design.
Therefore, if you want a statement piece, don’t hesitate to combine two or three finishing elements. Just be sure everything is labeled as food-safe.
Optional Personalization Ideas
Your unicorn cake can go beyond the classic pink-and-gold theme:
- Galaxy or Mermaid Twist: Switch to blues, purples, and aqua for an otherworldly vibe.
- Fresh Flowers: Add edible blooms for a whimsical meets rustic-chic style.
- Flavor Fillings: Incorporate a fruit puree or caramel drizzle between layers for contrast in flavor.
On the other hand, keep in mind that simpler designs can also be stunning if you stick to a clean color palette. Thus, adapt your cake’s appearance to match your event.
5. Bonus Tips, Storage, and Serving Suggestions for a Whimsical Unicorn Cake
Even the most enchanting unicorn cake needs proper planning for storage, transport, and serving. Therefore, these final steps ensure your cake remains picture-perfect until it’s time to slice.
Managing Temperature for Your Magical Rainbow Cake
- Room Temperature: If you’re serving within a few hours, you can leave the cake out (assuming your buttercream is stable).
- Refrigeration: For hot climates or overnight storage, place your cake in the fridge. On the other hand, allow it to warm up at room temperature for about an hour or two before serving, so the buttercream softens nicely.
- Extreme Heat: If you’re dealing with a summer party, keep an eye on melting decorations. Thus, consider a venue with air conditioning or ensure the cake stays chilled until the last possible moment.
Make-Ahead Strategies
- Baking and Freezing: You can bake cake layers weeks ahead of time. Wrap them tightly in plastic and store them in the freezer for up to 6 months.
- Buttercream Storage: Prepare your frosting a week in advance and refrigerate it in an airtight container. In addition, re-whip after bringing it to room temperature for a fluffier texture.
- Decoration Prep: Fondant horns and ears can be made a few days early. This waiting time lets them harden for easier placement.
Because these strategies ease the burden of doing everything in one day, they’re invaluable if you want a stress-free experience.
Transporting a Fairy-Tale Dessert Safely
Should you need to move your cake to another venue:
- Sturdy Base: Use a thick cake board or drum that won’t flex.
- Cake Box: A box slightly larger than your cake helps protect the sides.
- Non-Slip Mat: Place a silicone mat or even a damp dishcloth underneath the cake board inside your car to prevent shifting.
- Car Temperature: However, be mindful of direct sunlight. Air conditioning can help maintain stability.
Thus, you’ll arrive with your cake intact and ready to steal the spotlight.
Enhancing the Presentation
You might not think beyond the cake itself, yet the overall display can elevate your unicorn cake to new heights:
- Cake Stand or Decorative Platter: Choose one that complements your color scheme.
- Coordinated Décor: Confetti, balloons, or a table runner in similar shades ties the theme together.
- Photography Tips: Position the cake near a window with natural light. In addition, consider a clean background so your colorful design truly shines.
Moreover, a few simple steps in styling can turn your cake reveal into a memorable moment.
Serving Size and Nutrition Notes
- Portions: A three-layer 6-inch cake can serve about 8–12 people, while an 8-inch version can feed 15–20, depending on slice thickness.
- Calorie Count: Expect a standard buttercream-based unicorn cake to be indulgent, though you can reduce sugar or use lighter frostings to make it more health-conscious.
- Allergies: Consider nut-free, gluten-free, or dairy-free substitutions if needed. On the other hand, always double-check labels for decorations like dragees or edible glitter.
Thus, with these factors in mind, your guests can enjoy the cake without unwelcome surprises.
6. FAQs about unicorn cake
Can I make a unicorn cake without food coloring?
Absolutely. You can opt for natural dyes such as beetroot powder or matcha. However, you could also embrace a minimalist white-and-gold unicorn theme by skipping the artificial colors altogether. This style still delivers a magical look while keeping the ingredients simpler.
Which frosting is best for a unicorn-themed cake?
Buttercream is the most popular choice due to its rich flavor and smooth texture. On the other hand, you could use stabilized whipped cream or cream cheese frosting if you want something lighter or tangier. Whichever you choose, test a small batch to confirm it holds shape during piping.
How far in advance can I bake and decorate my rainbow cake layers?
You can bake and freeze your cake layers weeks in advance, which is perfect for busy schedules. Decorating is best done one to two days before your event so the frosting remains fresh. In addition, store the finished cake in the fridge if your kitchen is warm.
What if my fondant horn won’t stay upright?
Use a wooden dowel or cake pop stick inserted through the center of the horn for structural support. In addition, you can chill the horn slightly to let it firm up before placing it on the cake. This approach provides extra stability, preventing any topple disasters.
Conclusion
Creating a unicorn cake that’s truly awe-inspiring may seem intimidating at first. However, when you break it down step by step starting from your batter and tools, moving through color selection and frosting, then adding those enchanting details like a golden horn and pastel mane—you’ll find that it’s a wonderfully achievable project. Therefore, don’t hesitate to experiment with flavors, color palettes, and finishing touches to make your cake as unique as you are.

