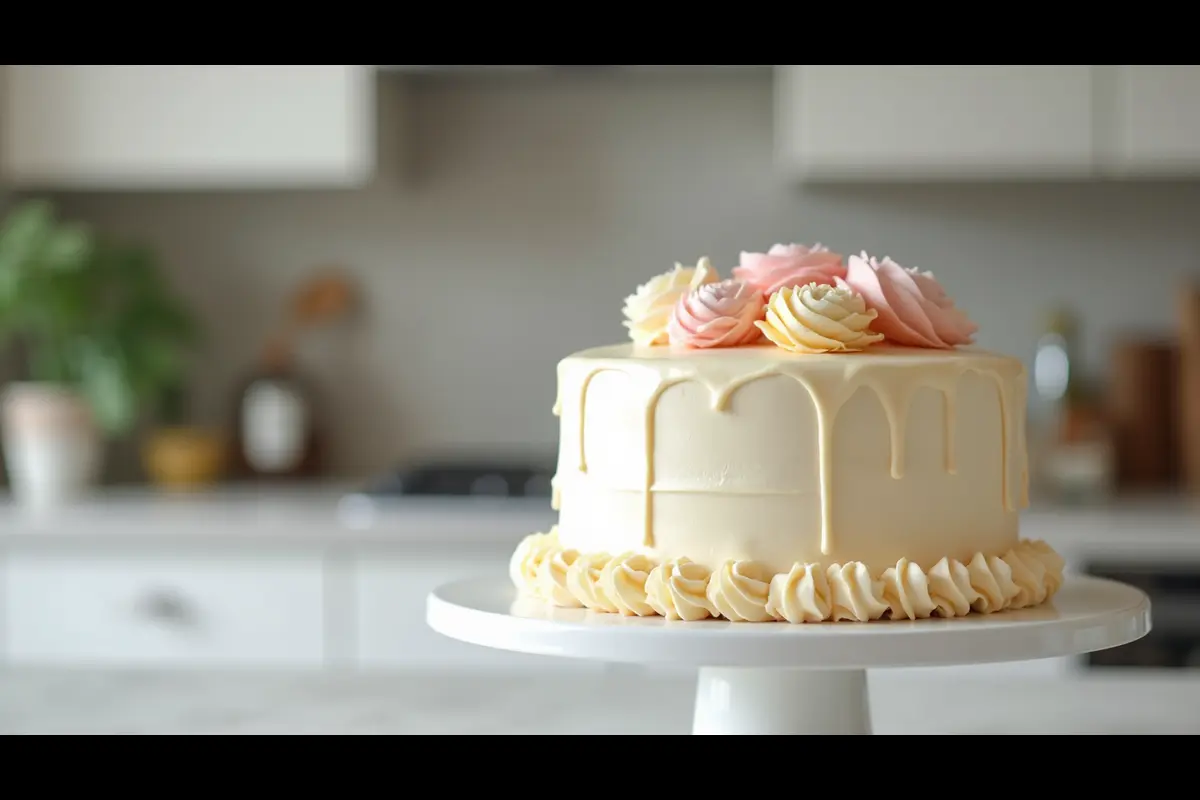
Craving a cake that’s both show-stopping and simple to bake? Look no further! This 8 inch round cake recipe delivers the perfect balance of flavor, texture, and elegance. Whether you’re a seasoned baker or just starting out, you’ll create a masterpiece worthy of any celebration. Let’s get baking!
Table of Contents
Essential Tools and Ingredients for an 8 Inch Round Cake
Creating a flawless 8 inch round cake starts with the right tools and ingredients. Each piece of equipment and every ingredient plays a key role in ensuring your cake turns out perfect—moist, fluffy, and utterly delicious. Let’s dive into the essentials that will make your baking experience seamless and enjoyable.
Must-Have Baking Tools
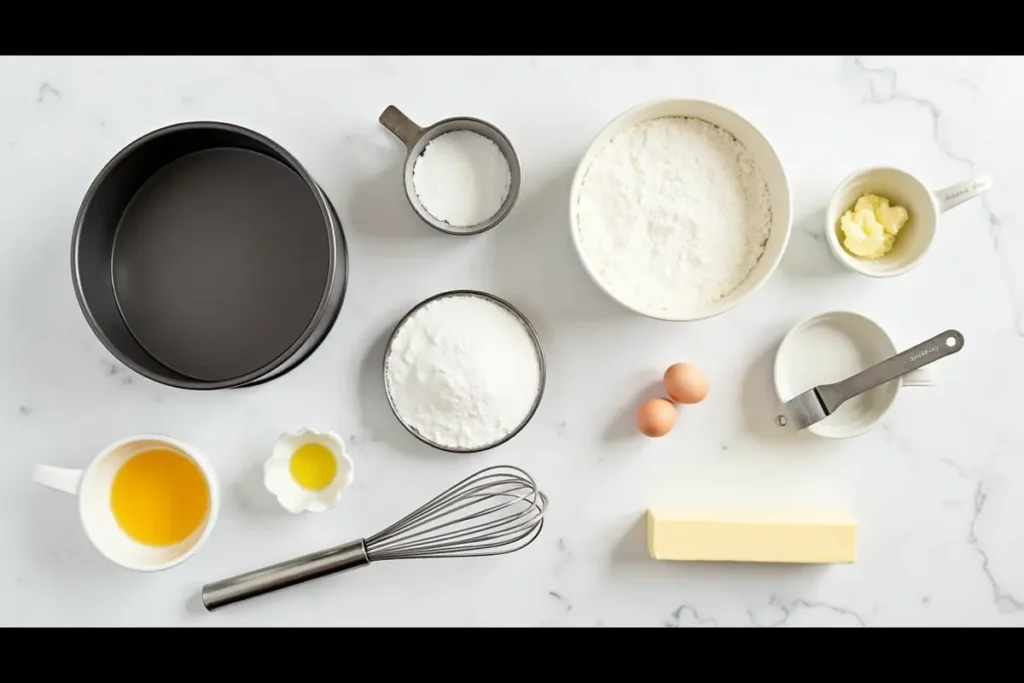
To bake an 8 inch round cake successfully, you’ll need a few key tools that make the process smoother. Here’s a quick rundown:
- 8 inch round cake pan: This is non-negotiable. A well-made pan ensures even heat distribution, resulting in a cake that bakes evenly without burnt edges or an undercooked center.
- Offset spatula: Perfect for spreading frosting smoothly, this tool gives your cake that professional finish.
- Cake turntable: While optional, this tool makes decorating so much easier. Simply place your cake on the turntable and rotate as you apply frosting or decorations.
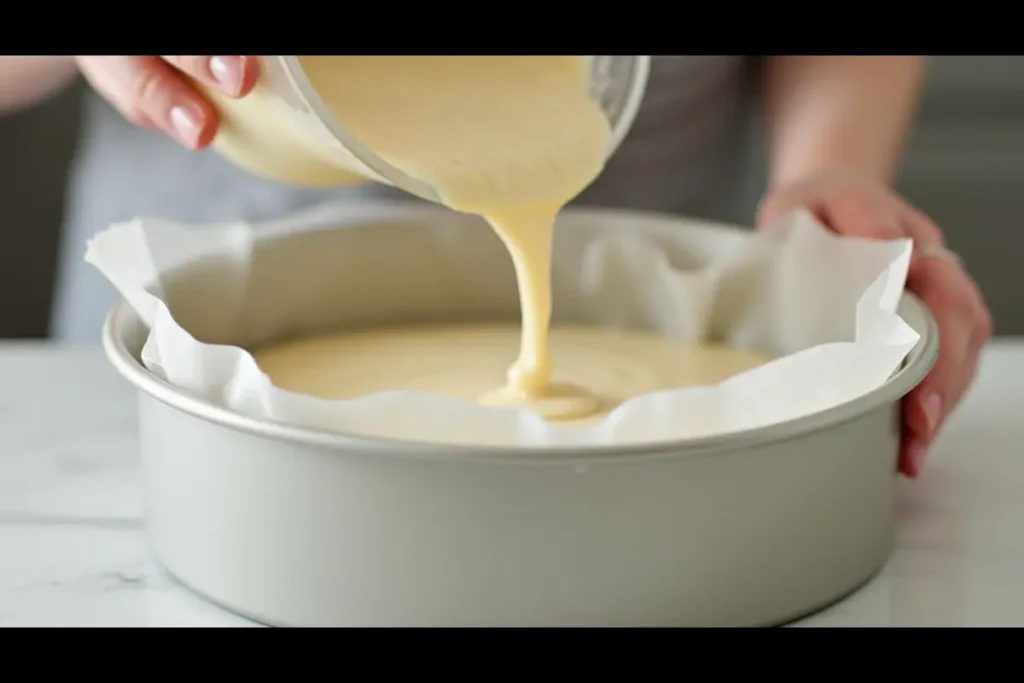
- Parchment paper: Cut a circle to line the bottom of your pan for an easy release after baking.
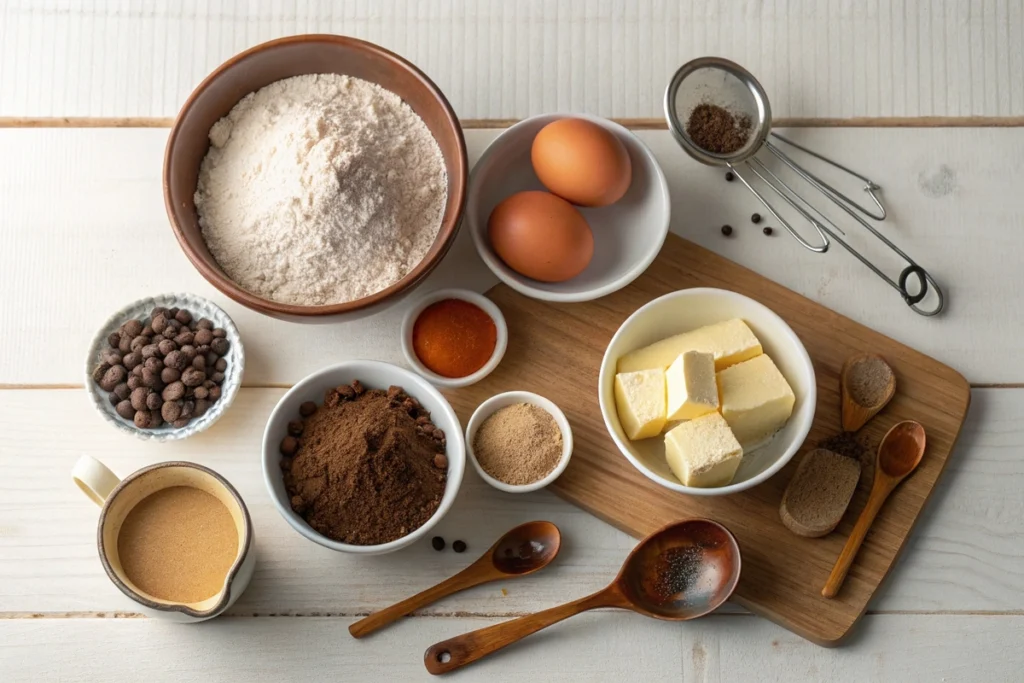
Key Ingredients for Success
Every ingredient in your 8 inch round cake recipe has a purpose, so measuring accurately and choosing quality ingredients is crucial.
- All-purpose flour: This forms the structure of your cake. Be sure to spoon the flour into your measuring cup and level it off with a knife for precision.
- Granulated sugar: Provides sweetness and helps retain moisture. You can substitute part of it with brown sugar for a deeper flavor.
- Unsalted butter: Adds richness. Using unsalted butter lets you control the amount of salt in your cake. If needed, you can substitute with oil, though it will slightly alter the texture.
- Eggs: They bind the ingredients together and provide structure. For best results, use eggs at room temperature.
Optional Twist: Want to add a burst of flavor? Mix a teaspoon of almond extract or orange zest into the batter for a unique twist.
Pro Tips for Preparing Your Pan
Preparing your pan correctly can mean the difference between a cake that slides out effortlessly and one that sticks to the bottom. Here’s how to do it right:
- Grease your 8 inch round cake pan with butter or cooking spray. Make sure to cover the sides and edges evenly.
- Line the bottom of the pan with a parchment paper circle for easy removal.
- Dust the greased pan lightly with flour, tapping out the excess to create a nonstick layer.
Why Quality Matters in Baking
Quality ingredients and tools are not just optional—they’re game-changers. A high-quality 8 inch round cake pan prevents uneven baking, while fresh ingredients enhance flavor and texture. For example, fresh baking powder ensures your cake rises beautifully, while expired leavening agents can leave you with a dense, flat dessert.
Step-by-Step Guide to Baking an 8 Inch Round Cake
Baking an 8 inch round cake may seem intimidating, but with the right method and preparation, it becomes a straightforward and rewarding experience. This section breaks down each step to ensure your cake turns out moist, fluffy, and perfectly baked every time.
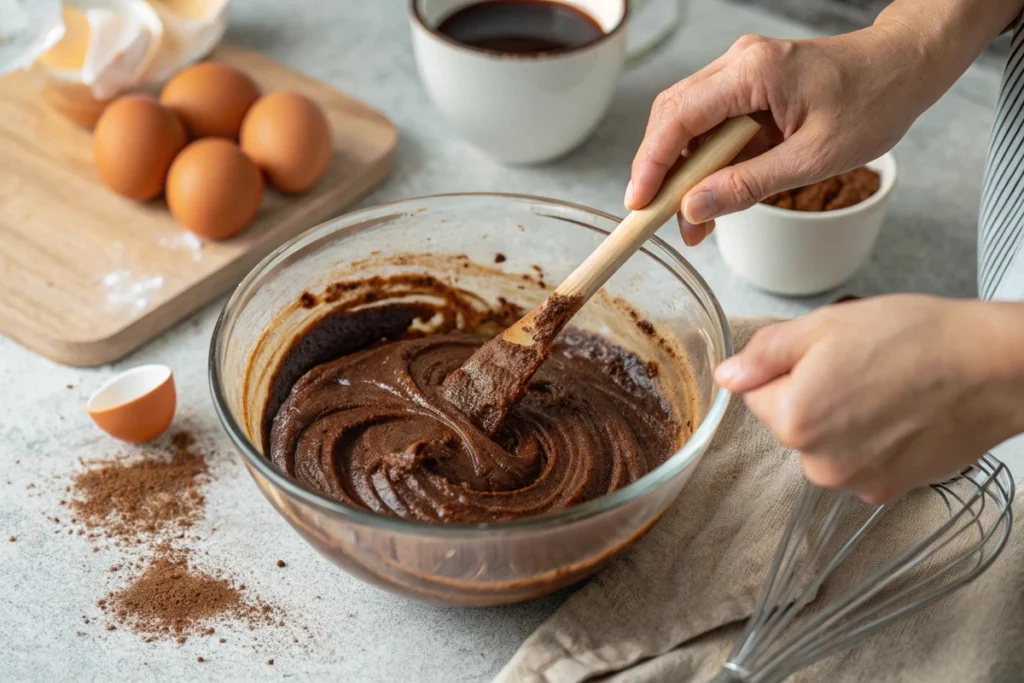
Mixing the Batter: A Foolproof Method
The key to a light and airy 8 inch round cake lies in how you mix the batter. Here’s how to do it right:
- Cream butter and sugar: Beat the butter and sugar together until pale and fluffy. This step creates air pockets, ensuring a tender crumb.
- Add eggs one at a time: Gradually incorporate room-temperature eggs. Doing so prevents the batter from curdling and keeps it smooth.
- Alternate dry and wet ingredients: To avoid overmixing, add your dry ingredients (flour, baking powder, salt) in thirds, alternating with your wet ingredients (milk or buttermilk). Mix until just combined.
Pro Tip: Scrape down the sides of your bowl as you go to ensure all ingredients are evenly incorporated.
Perfect Bake Time and Temperature
Baking an 8 inch round cake to perfection requires the right balance of temperature and timing.
- Preheat your oven to 350°F (175°C): This is the ideal temperature for even baking without overbrowning.
- Bake on the center rack: Positioning your cake here promotes even heat distribution.
- Bake for 30-35 minutes: Check the cake at 30 minutes by inserting a toothpick into the center. If it comes out clean or with a few crumbs, your cake is ready.
Tip: If your cake appears golden but isn’t done, cover it loosely with foil to prevent overbrowning.
Cooling and Removing the Cake from the Pan
Once your 8 inch round cake is baked, cooling it properly is essential to preserve its structure and texture.
- Cool in the pan for 10-15 minutes: This allows the cake to set, reducing the chance of it breaking when removed.
- Transfer to a wire rack: Run a knife along the edges, invert the pan onto a wire rack, and gently lift it off. Peel away the parchment paper.
- Cool completely before frosting: Frosting a warm cake can cause the buttercream to melt and slide off. Patience is key!
Troubleshooting Common Baking Issues
Even with the best intentions, things can go wrong. Here’s how to fix common problems:
- Cake is too dense: This usually happens if the batter was overmixed. Next time, mix until ingredients are just combined.
- Cake sinks in the middle: This could mean the oven door was opened too early or the cake didn’t bake long enough. Always test for doneness before removing it.
- Dry cake: Check your measurements—too much flour can result in a dry texture. Additionally, avoid overbaking.
Decorating Ideas for an 8 Inch Round Cake
Decorating an 8 inch round cake is where creativity meets skill. Whether you’re a beginner or an experienced baker, there are endless ways to make your cake look as stunning as it tastes. From simple frosting techniques to intricate designs, this section explores ideas to elevate your cake’s presentation.
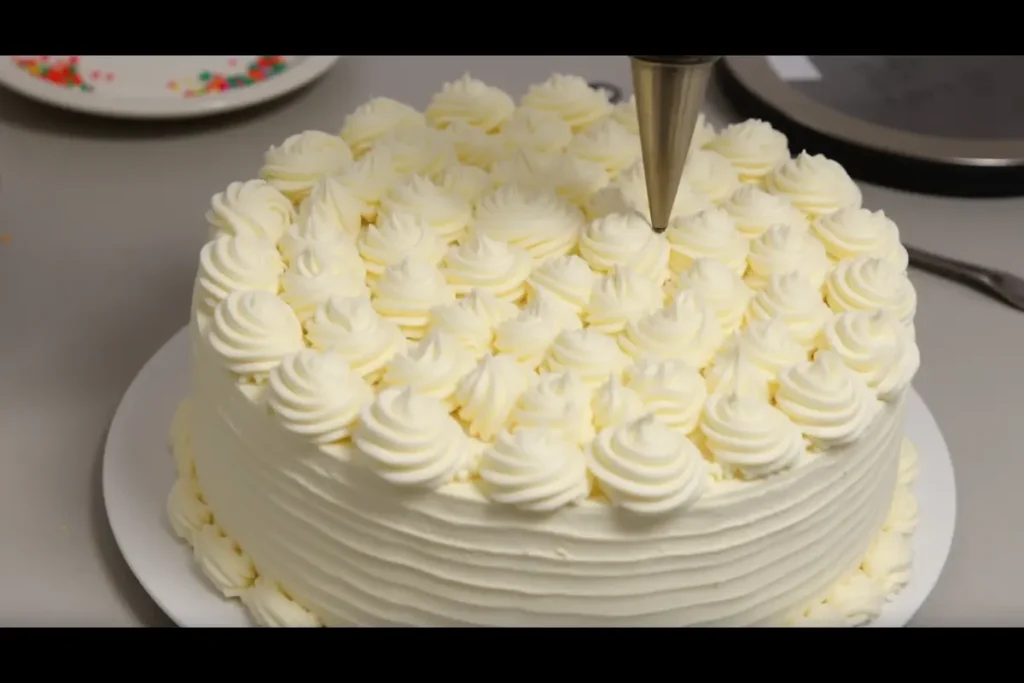
Simple Buttercream Frosting Techniques
Buttercream frosting is a classic choice that pairs beautifully with any flavor of 8 inch round cake. Here’s how to achieve a flawless finish:
- Start with a crumb coat: Apply a thin layer of frosting to seal in crumbs and create a smooth surface for your final coat. Chill the cake for 15-20 minutes after applying the crumb coat.
- Use an offset spatula: This tool helps spread frosting evenly across the cake. For a sleek finish, dip the spatula in hot water, then dry it before smoothing.
- Add texture: Create waves, swirls, or patterns with the back of a spoon or the edge of your spatula for a unique touch.
Pro Tip: If you’re new to frosting, use a turntable to rotate the cake while you frost it makes the process much easier!
Creative Decorating Ideas
Take your 8 inch round cake to the next level with these simple yet eye-catching decorating ideas:
- Fresh Fruit: Top your cake with seasonal berries, thinly sliced citrus, or edible flowers for a fresh and elegant look.
- Drip Effect: Use melted chocolate or a flavored glaze to create a dramatic drip design along the edges.
- Sprinkles and Edible Glitter: Add a pop of color and fun with sprinkles or glitter—perfect for birthday cakes.
For inspiration on creative cake decorations, explore our Unicorn Cake Tutorial, which is filled with tips for making colorful designs!
Tips for Leveling and Stacking Cakes
Creating a multi-layer 8 inch round cake requires precision and patience. Here’s how to ensure your cake layers are even and stable:
- Level the layers: Use a serrated knife or a cake leveler to trim the domed tops of your cakes. This ensures the layers stack neatly without wobbling.
- Use a piping bag for filling: Pipe an even ring of frosting around the edge of the bottom layer to create a “dam” that holds the filling inside.
- Secure with dowels: For added stability, insert a few dowels or straws through the center of the stacked cake, especially for taller cakes.
Pro Tip: Chill each layer before assembling to prevent sliding during stacking.
Customizing Your Cake for Any Occasion
An 8 inch round cake is the perfect size for small gatherings, and you can easily customize it for any celebration:
- Birthday Party: Add colorful candles, themed toppers, or fondant decorations.
- Anniversary: Incorporate elegant details like gold leaf, sugar flowers, or a handwritten message in frosting.
- Seasonal Celebrations: For holidays, match the colors and flavors to the season. Think peppermint frosting for winter or lemon glaze for spring.
For more decorating tips tailored to special occasions, check out our Strawberry Shortcake Parfait Recipe for ideas on adding fresh, seasonal flair to your cakes.
Common Mistakes to Avoid When Baking an 8 Inch Round Cake
Even with a great recipe, mistakes can happen in the kitchen. Identifying and avoiding common pitfalls is essential to ensure your 8 inch round cake turns out perfectly every time. This section highlights frequent errors and offers actionable tips to help you avoid them.
Overmixing the Batter
One of the most common mistakes in baking an 8 inch round cake is overmixing the batter. While it’s tempting to mix until perfectly smooth, doing so can develop too much gluten in the flour, resulting in a dense and chewy cake.
- How to avoid it: Mix the batter just until the dry ingredients are incorporated. A few small lumps are fine—they’ll disappear as the cake bakes.
- Pro Tip: Use a spatula instead of a whisk for the final mixing stage to prevent overmixing.
Incorrect Oven Temperature
Another frequent issue is baking the cake at the wrong temperature, which can lead to uneven baking or a dry texture. An oven that’s too hot may burn the edges, while one that’s too cool can leave the center undercooked.
- How to avoid it: Always preheat your oven to 350°F (175°C) before baking your 8 inch round cake.
- Pro Tip: Use an oven thermometer to check the accuracy of your oven’s temperature. Many home ovens run hotter or cooler than the set temperature.
Skipping Pan Preparation
Neglecting to properly prepare the pan can cause your cake to stick, making it difficult to remove without damaging its shape.
- How to avoid it: Always grease the pan, line it with parchment paper, and dust it lightly with flour before adding the batter.
- Pro Tip: If you’re out of parchment paper, a generous greasing with butter or oil will still help the cake release more easily.
Opening the Oven Door Too Soon
While it’s tempting to peek at your cake as it bakes, opening the oven door too early can cause the temperature to drop, leading to a sunken center.
- How to avoid it: Resist the urge to open the oven until at least 25 minutes into the baking time. At this point, you can quickly check for doneness without impacting the bake.
- Pro Tip: Turn on the oven light to monitor the progress instead of opening the door.
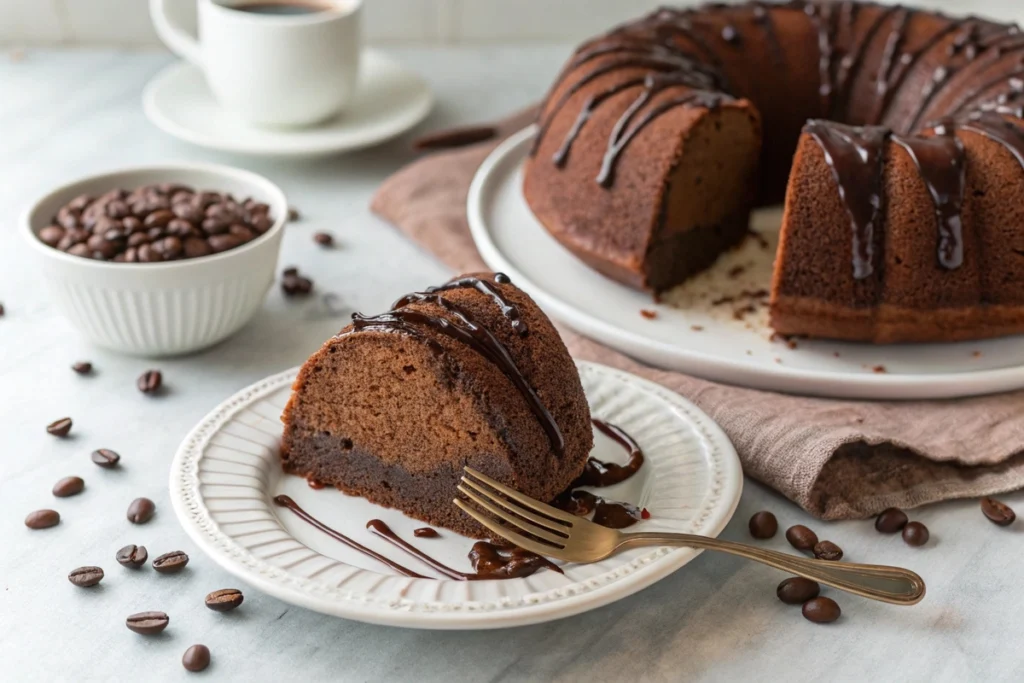
By keeping these common mistakes in mind, you’ll be well on your way to baking a flawless 8 inch round cake. For additional tips and tricks, check out our Cocoa Coffee Cake Recipe to further refine your baking skills!
FAQs
How many people will an 8 inch round cake serve?
An 8 inch round cake typically serves 12-16 people if sliced into standard portions. However, the number of servings can vary depending on how you slice the cake. For larger, event-style slices, you can expect about 8-10 servings, while smaller, party-sized slices can stretch to around 16. To maximize servings, consider using a serving guide to cut uniform pieces.
How big is an 8 inch round cake?
An 8 inch round cake measures 8 inches in diameter, which is the distance across the cake from one side to the other. Typically, this size is around 2-3 inches tall, depending on the recipe and the number of layers. It’s the perfect size for small gatherings, providing enough cake to satisfy a group without overwhelming leftovers.
What is the difference between an 8-inch and 9-inch round cake?
The primary difference between an 8 inch round cake and a 9-inch one is the surface area, which impacts the amount of batter needed and the baking time. A 9-inch cake pan holds more batter (about 25% more) and has a larger surface area, resulting in a slightly thinner cake if the same amount of batter is used. Additionally, a 9-inch cake may bake faster due to its wider shape, so it’s important to adjust recipes accordingly.
How many kilograms is an 8-inch cake?
The weight of an 8 inch round cake can vary depending on the ingredients and decorations. On average, a single-layer 8 inch round cake weighs around 1.2 to 1.5 kilograms. If you’re adding frosting or multiple layers, the weight can increase significantly. Be sure to weigh your ingredients accurately to maintain the cake’s structure and flavor.
Conclusion
Baking the perfect 8 inch round cake is all about combining the right tools, ingredients, and techniques. From preparing your batter to decorating and avoiding common mistakes, this guide has covered everything you need to create a delicious, beautiful cake. Now it’s your turn to put these tips into action and bake a cake that’s sure to impress. Whether it’s for a celebration or a cozy treat at home, your 8 inch round cake is bound to be a crowd-pleaser.
Print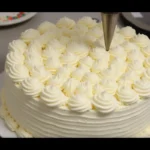
The Ultimate 8 Inch Round Cake Recipe
- Total Time: 55 minutes
- Yield: 12–16 1x
Description
This 8 inch round cake is light, fluffy, and delicious perfect for any occasion! With simple ingredients and easy-to-follow instructions, you’ll bake a show-stopping cake that’s moist, tender, and irresistible.
Ingredients
For the Cake:
- 2 ½ cups all-purpose flour (spooned and leveled)
- 2 ½ teaspoons baking powder
- ½ teaspoon salt
- ¾ cup unsalted butter, softened
- 1 ¾ cups granulated sugar
- 4 large eggs, room temperature
- 1 tablespoon vanilla extract
- 1 cup whole milk, room temperature
For the Buttercream Frosting:
- 1 cup unsalted butter, softened
- 4 cups powdered sugar, sifted
- 2 teaspoons vanilla extract
- 3 tablespoons heavy cream or milk
- Pinch of salt
Instructions
For the Cake:
- Preheat your oven to 350°F (175°C). Grease two 8-inch round cake pans, line the bottoms with parchment paper, and lightly dust with flour.
- In a medium bowl, whisk together the flour, baking powder, and salt. Set aside.
- In a large mixing bowl, beat the softened butter and sugar together with a hand or stand mixer until light and fluffy (about 3-4 minutes).
- Add the eggs one at a time, beating well after each addition. Mix in the vanilla extract.
- Gradually add the dry ingredients to the wet ingredients, alternating with the milk, starting and ending with the dry ingredients. Mix until just combined. Do not overmix.
- Divide the batter evenly between the prepared pans. Smooth the tops with a spatula.
- Bake on the center rack for 30-35 minutes, or until a toothpick inserted into the center comes out clean.
- Remove the cakes from the oven and let them cool in the pans for 10 minutes. Transfer to a wire rack to cool completely.
For the Buttercream Frosting:
- Beat the softened butter in a large bowl until creamy.
- Gradually add the powdered sugar, one cup at a time, mixing on low speed until incorporated.
- Mix in the vanilla extract and heavy cream. Beat on high speed for 2-3 minutes until light and fluffy. If needed, add more cream for a thinner consistency or powdered sugar for a thicker consistency.
- Add a pinch of salt to balance the sweetness.
Assembly:
- Level the cooled cakes by slicing off any domed tops with a serrated knife.
- Place one cake layer on a serving plate or cake board. Spread an even layer of frosting on top.
- Add the second cake layer and apply a crumb coat (a thin layer of frosting to seal in crumbs). Chill for 15 minutes.
- Apply the final layer of frosting, smoothing the sides and top. Decorate as desired with piped rosettes, sprinkles, or fresh fruit.
Notes
- Ensure all ingredients are at room temperature for a smoother batter and better rise.
- Do not overmix the batter to avoid a dense cake.
- To make ahead, bake the cake layers and store them tightly wrapped in plastic wrap at room temperature for up to 24 hours, or freeze for up to 3 months.
- Frost the cake just before serving for the best texture and flavor.